How to Get Void Shards in Mining and Dwarves
Break rocks, fill the deposit bar, mine the special orb, and spend shards on a persistent tree.
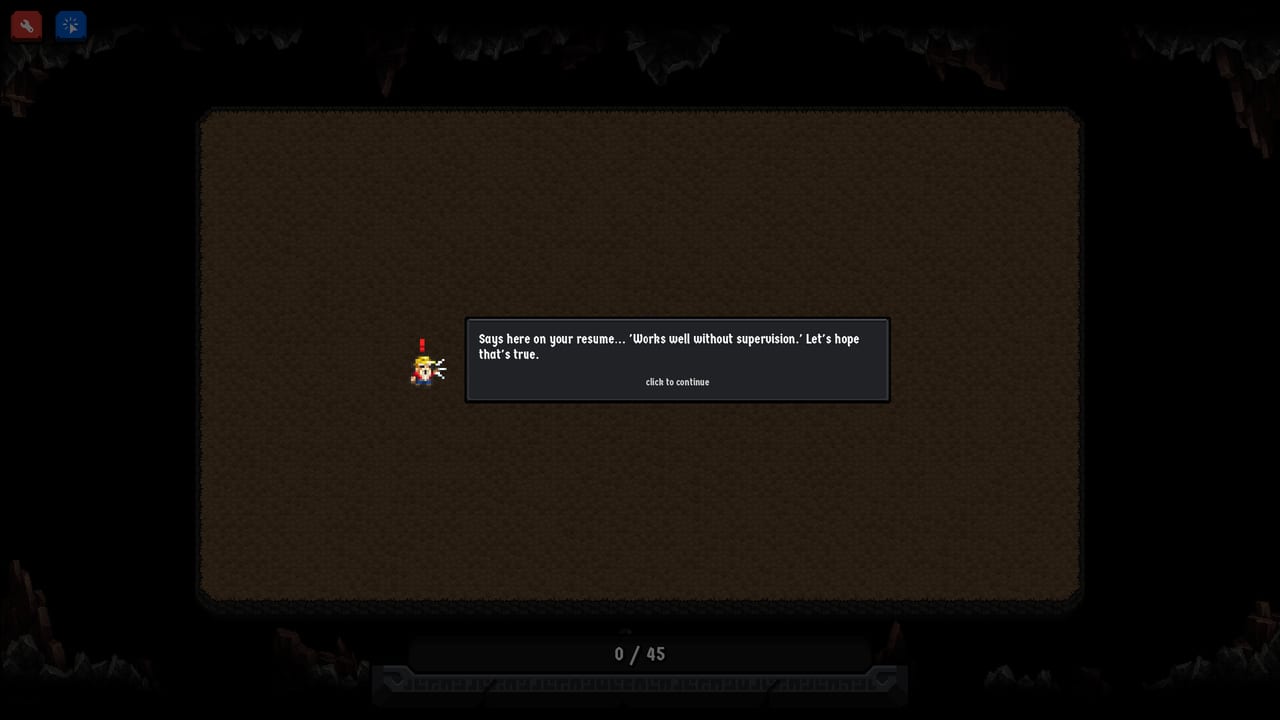
Void shards are the skill-tree currency in Mining and Dwarves. They are not gold, and they do not sprinkle off a random pebble the way a juicy clicker would teach you. You earn them by running one loop until it pays: break rocks, haul ore into the central deposit, fill the bar, mine the special orb, collect shards, watch the field return. How to play is the systems version of that loop. This page is only the shard wallet: how the rate moves, why AFK still ticks, and what the shards buy. Common traps that stall the wallet sit on beginner mistakes.
Break rocks, then move the ore
Rocks sit around a dark central sink. Click them, or rest Auto Click on them, until they shatter. Drops sit on the floor. Floor ore does nothing. It has to reach the deposit.
Until a Collector exists, you are the hauler. Click a few chunks into the sink yourself if the bar is stalling. That is slow, and it is honest. A Dwarf Collector walks those drops for you. Each trip fills the bar. Carry-limit ranks make each trip fatter. Worker speed makes each trip shorter. A Miner without a Collector paints a carpet. A Collector without a Miner sprints at stones that never break. Mix first.
Rock types seen in videos include tin, copper, coal, and basilian. New rocks change how long a stone lives. They do not change where shards come from. If the current field already outruns haul, another rock unlock is clutter, not a shard strategy.
Fill the bar, mine the orb
The central deposit is the cycle clock. Ore that reaches it fills a bar. When that bar fills, a special orb appears. Mine the orb the same way you mine rocks. Clearing it dumps the payday: gold plus void shards, then a fresh rock field.
Gold is the depositing currency. Chunks that reach the sink pay gold. Void shards are the tree currency. You can be rich in gold and broke in shards if you never finish the bar. You can also dump shards into a dead-end leaf and stay haul-poor. Keep the wallets separate.
Multi Ore (W) is strongest on the orb. That is a Steam review tip. Super Auto Miner (Q) still needs a hover. Early duration is about seven seconds. One playtest saw about eight clicks per second. Early cooldown is about thirty-five seconds before minus-ten ranks. Park Q on the orb, fire W while the hits land. That window is how shard rate jumps.
Foreman is a named specialist who boosts nearby workers: speed, damage, and aura radius. Demolition Dwarf is the other named specialist. Steam lists five types total. This wiki will not invent the fifth name. None of those later hires replace the deposit bar.
Collectors versus you, and why AFK still ticks
Your own hauling is a patch, not a factory. You can click drops while you wait on the first Collector. After that hire, every second you spend as a human mule is a second you are not hovering Q on rocks or the orb. Collectors change shard rate because they keep the bar climbing while you play the burst keys. Extra Collectors help when ore carpets the floor. They do nothing when rocks will not die.
AFK still ticks because hired dwarves keep working when your cursor is in another window. Miners still chip. Collectors still walk. The bar still fills. The orb still spawns and eventually dies. You still get shards. What you miss is the hovered burst: Q on a cluster, W on the orb, pies, a collapse you could have ignored instead of panic-buying. Playtests include a collapse event where dwarves auto-hide. That pause is not a wipe. AFK is slower. It is not zero. Spend the extra shards from an active window on cooldown and carry, not on a third copy of one role.
There is no prestige. The tree is persistent. Steam Cloud keeps the save. Shards you spend stay spent.
What shards buy
Open the skill tree before you click a cheap icon because it is cheap. Shards buy recruit nodes for Miner and Collector, later Demolition Dwarf and Foreman, plus the unpublished fifth type. They buy worker speed and carry limit. They buy max rocks, which is density for the Q burst. They buy ability unlocks plus cooldown, duration, and multiplier ranks. They also buy dead-end leaves that open nothing.
The upgrade-priority tool is the short shopping order: mixed pair, speed, carry, Super Auto Miner cooldown, then damage. The walkthrough is the long version across early, mid, and late sessions. Skip duration crumbs. Skip stacking one role. Skip spraying every affordable node. Late Mining and Dwarves waits on shards, not on gold. Buy the thing that shortens the wait until the next orb, then run the loop again.
Frequently Asked Questions
Quick answers to the most common questions.
How do I earn void shards?
Break rocks, haul ore into the central deposit, fill the bar, and mine the special orb. The loop itself is in how to play.
Is gold the same as void shards?
No. Gold comes from depositing. Shards buy the tree. Spend them as separate wallets; node types are on the skill tree.
Do I have to haul ore myself?
Only until a Collector exists. After that, your clicks are better spent on rocks and the orb. Role traps are listed in beginner mistakes.
Why do shards still come in while I am AFK?
Hired Miners and Collectors keep the bar moving. You miss hovered Q and W on the orb, so the rate is slower, not zero. Collapse auto-hide and other AFK traps sit in beginner mistakes.
What should I spend the first shards on?
A mixed Miner and Collector, then speed or carry, then Super Auto Miner cooldown. Use the upgrade-priority tool as the checklist.
Where does shard income go after the first hour?
Same loop, denser rocks, more expensive nodes. The walkthrough maps when to add bodies versus cooldown.